21 Μαρ 2011

Quick Update...!!!

"Long time no see" my beloved followers since our last post ... and we are really sorry about that..!!!
But we will make up to you with more than one post  in less than 3 days..!!!


We are really sorry..!!
Stay tuned and enjoy the spring !!!

Many kisses...!!!
Kataki!! xoxo


1 Μαρ 2011

"Queen of Hearts Crown DIY (do it yourself) "


QUEEN OF HEARTS (Helena Bonham Carter) 

After Alice in Wonderland won the Oscar for Costume design yesterday, everyone would like to dress like the movie characters. Therefore we will show you how to make the crown of the Queen of hearts   for the upcoming last weekend of the carnival celebrations in Greece. 

You will need a can, a paper tape and golden coloured paper(any kind).


THE PROCESS:

First of all you cut the can both sides. Then put a slice of paper tape on the bottom side so not to cut yourself  when you will wear it and open two little holes opposite to each other so to be easier to adjust on your head!
The perimeter of a usual can is around 21cm and you diverse it with the number of the "tops" you want for the crown. The crown of this project has 7 "tops", so each crown top is 3 cm(length). In the pictures below you can see how we separated the paper tape on the can, drawing also the lines to help us with the "tops". Between the lines you have to draw triangles with the top in the middle (1.5cm). Afterwards you cut the edges like the design in picture (3).

<--(3)

Then you put on the outside and also on the inside of the crown the golden paper. You can also paint it if you like with a golden spray or a paint marker.

After that draw and cut from the paper tape small hearts depending on how many tops your crown has.
Pin or glue them on the centre of each triangle. You have to colour them red or you can decorate them with red glitter.

The results are amazing as you can see below!!!


Hope you will enjoy the craft from the first to the last minute!!! 

Stay tuned and wait for more crafts.. 
Lots of love 
Kataki n' Mitsaki!!!! 
xoxo 


"Edward Scissorhands hands" DIY ;o)

Waiting for the last weekend of carnival we have thought of many different costumes! Edward Scissorhand is one of them and we want to share with you the process of this project which it was more than exciting although a bit difficult.


THE PROCESS:

You need a pair of  scissors, a paper tape, 
a carton box and a silver paint marker.

These are the two parts of the scissors and 
also some double pins
Design the outlines of a pair of scissors


    Our paper  pair of scissors and 
    3 small holes on the one handle

     
An old cut glove


         Adjust the paper scissor 
with tie-wrap
 on the glove

    
Do it 3 times and you will have 
your scissorhands!!!!


HOPE YOU WILL ENJOY IT!!! 
Stay tuned!!! 

With love
Mitsaki n' Kataki...!!
xoxo

"Harry Potter Carnival Costume" (DIY)

Mitsaki is fan of Harry Potter and because of that last year he decided to design a costume of Harry Potter for the carnival celebrations in Greece!!!
Although the pictures are not so good (cause iPhone camera plus the bright light is not the ideal combination) we want just to give you an idea how a handmade costume will look like!!


The costume

Gryffindor logo


Magic wand and glasses of Harry Potter 


I believe that this costume was really really nice and Mitsaki was so like Harry Potter!!

Enjoy ... Stay tuned..!!! Lots of love 

Mitsaki n' Kataki
xoxo


Our lovely Harry Potter!!! ;o)

23 Φεβ 2011

"EΠΙΠΛΑ ΛΑΖΑΡΟΥ"

New Post from  EΠΙΠΛΑ ΛΑΖΑΡΟΥ 
3 Different types of Kitchen all made with excellent taste!! Check it out!!!!

http://epiplalazarou.blogspot.com


Thanks a lot our lovely followers!!!
Many kisses!!

xoxo

PS: Stay tuned for our first but not last Carnival Post!!! coming up very very soon!!!


13 Φεβ 2011

Clever and cheap ideas for Valentine's day!! ;o)


Valentine's day = Gifts , flowers, romantic dinner  and other stuff  like that...  
But to be honest many times money are not enough for the ideal gift for the ideal person!!!
 So we came up with some cheap, easy, touchy and of course clever ideas...!!! ;o)

1st choice (Love Toothbrush)


Who doesn't brush his/her teeth in the mornig before going to work? So, what is better than surprising your partner at his/her very first waking up?! Of course, a love-toothbrush...a love message rolled on toothbrush, that even a dentish would be envy! ;-)
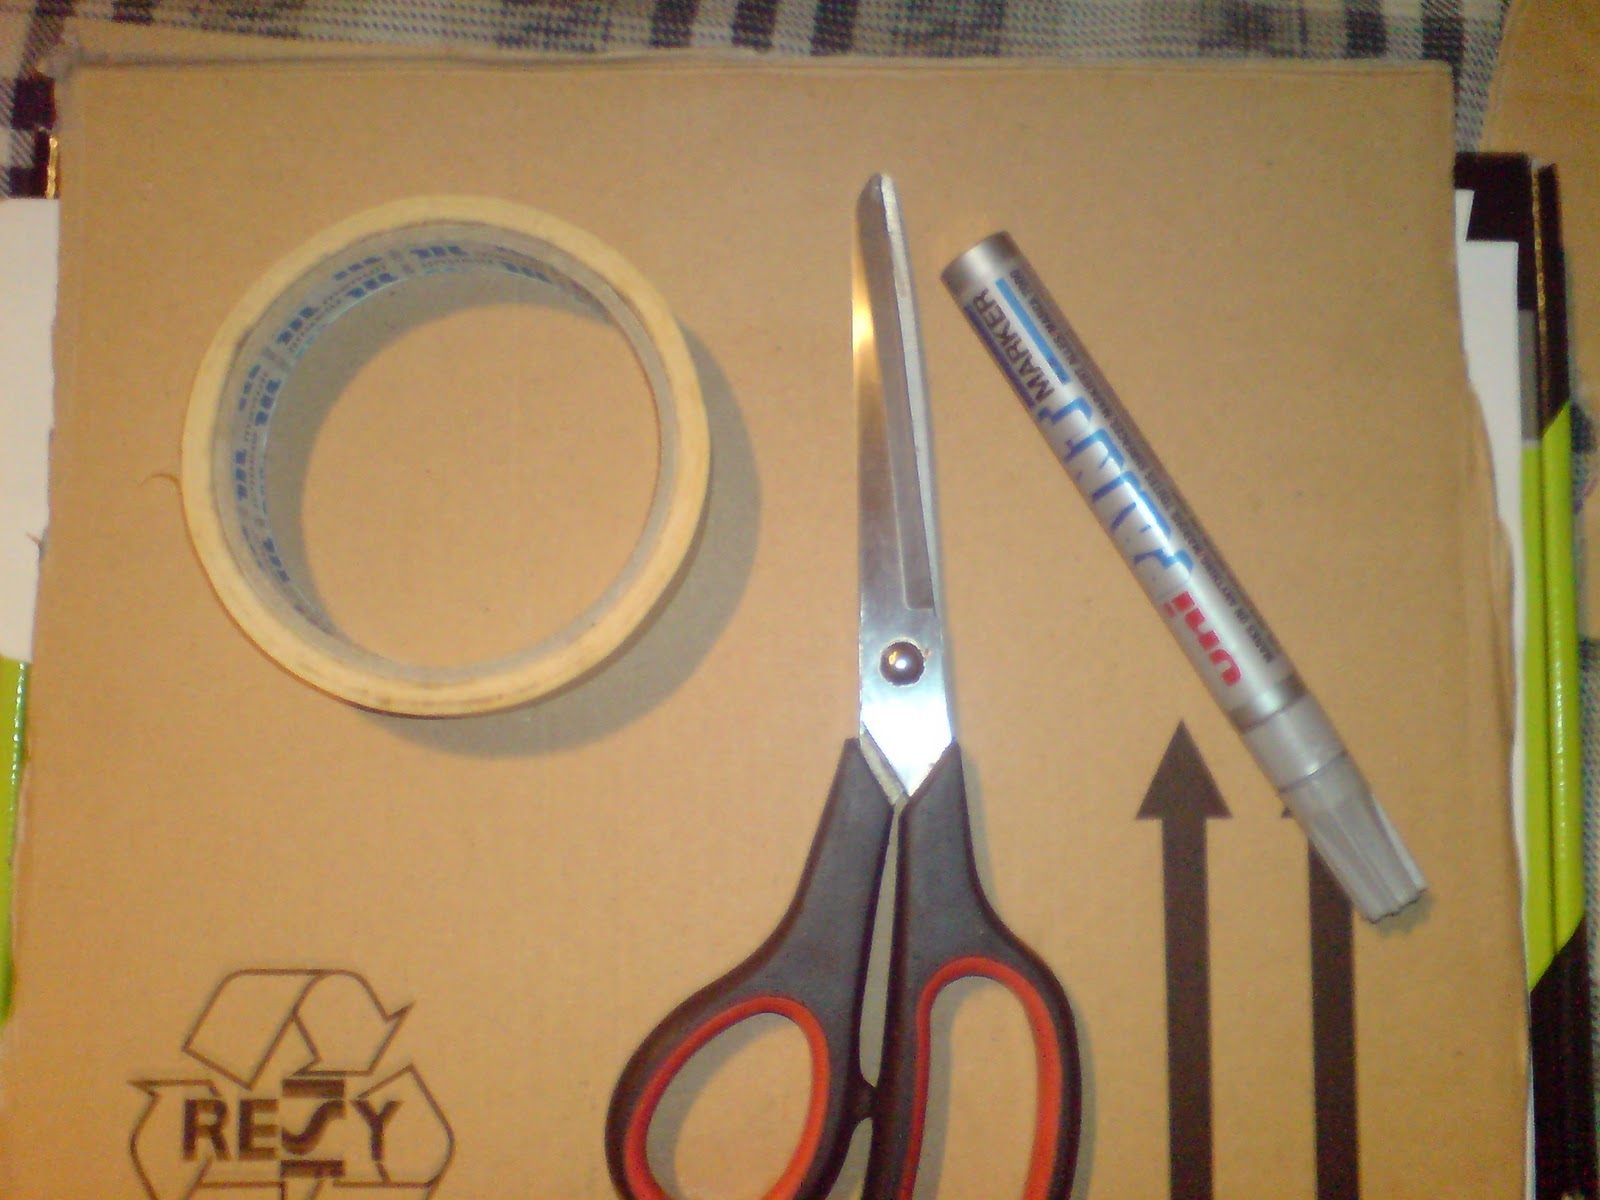
Materials
Card stock
Tape
Paper hearts or stickers
and lot of imagination for your love message!

Instructions
Jot your message on a strip of card stock, embellish it with glued-on paper hearts or stickers.
Wrap the strip just below the toothbrush's head.
We attached the strip by cutting a pair of corresponding slits, but tape works, too.

 (our creation


2nd choice (You make me Roll)


Nice idea for a man to his lover! Find something to roll(candy, a mascara or a lipgloss),things that your lover uses on a regular basis. Wrap it with a piece of paper and your surprising love message is ready! ;o)


Materials 

Wrapping paper, stickers and tape


Instructions


To put a fun on your Vday wishes, cut a rectangle of colorful wrapping paper sized to wrap a few times around you "surprise"


Print your message on the paper's inside blank side and then tape one end to the gift.


Roll the paper around the "treat" and secure with a sticker. 


Important note!!!! : Be sure that your lover will find it easily... ;o)


3rd choice (Key to My Heart)

This idea represents that you have a place to his/her heart and also the key to "enter" his/her world ;o) 


Materials

Red and pink mold-and-bake clay
Rolling pin 
heart shaped cookie cutter or simply use a small knife
pencil 
craft glue
aluminium foil 
scissors 
index card 
clear paper 
hole punch
metal key ring
permanent marker 


Instructions

Partially blend red and pink clay to create a swirled effect. Roll the mixture out to about 1/8-inch thickness.
Use a heart-shaped cookie cutter (or a small knife; a parent's job) to cut the clay into a heart. Make a small hole about 1/4 inch from the top with the point of a pencil. Follow the package directions for baking the clay, then set it aside.Glue aluminum foil to both sides of an index card or piece of cardboard. Let dry. Then draw an oversize key on the foil and cut it out. Cover with clear Con-Tact paper, trim the edges, and punch a hole in the top of the key.Attach both small rings to the big key ring. Thread the key onto one. Connect the clay heart to the other small ring with a loop of floral wire. Write a message (such as "The Key to My Heart") on the key with the marker.
And you have the key of his/her heart... ;o)


4th choice (Love Coupons)

Our last idea and we think that this is the best one! Even for those who don't live together.
You can create love coupons!! It's easy and very "touchy".... 


Materials
A love coupon. You can either create your own coupon or we can gladdly mail you some ready previews and you will only have to fill the blank spaces.


Instructions


Take a piece of paper and create a coupon for anything you have in mind ..from the most innocent "needs" to your more dirty ones... 


And as our "Friend" Joey says " a free sex coupon!!!" 

You will both enjoy the day till the end!! ;o)


(You can always mail us to find out more!) 


We wish you a happy and really nice ;o) Valentine Day..!!! 

Have fun and enjoy each day of your life with or without a "special one"


We are waiting for your comments.!!! 

Lots of Love
kataki and mitsaki!!! 


xoxoxo


STAY TUNED...!!!! 


"Valentines day Cupcakes Recipe!! "

Celebrating Vday is does not necessary a day to spend much money! You can spend the day with your partner together in the house having fun and making cupcakes.!!! ;o)

An easy made recipe which i tried once, twice...(many times) and i really enjoyed it...!!! 
These Cupcakes are perfect for Valentine's Day but are so easy to make you'll want to serve them all year long.


Strawberry Hearts Cupcake Recipe  

(The recipe includes also the whipped cream)


Ingredients

One box vanilla (or strawberry) cake mix - prepare as directed

Prepared whipped cream - See recipe below

One pint (box) fresh strawberries sliced in half

Directions

Bake cupcakes following the box directions.

Allow cupcakes to completely cool.

Top cupcakes with clouds of whipped cream.

Place a strawberry half on top of each little cake.

Refrigerate until ready to serve.

Whipped Cream Recipe

1/2 cup heavy cream, well chilled
2 tbsp confectioners' sugar
1/4 tsp vanilla extract

Combine the heavy cream, confectioners' sugar, and vanilla extract in a mixing bowl.

With an electric mixer set on medium speed, begin beating the cream mixture, increasing the speed to high as cream thickens to avoid spatters.

Beat until soft peaks of whipped cream form.


ENJOY  with partner or family!!! 


WIth love on Valentine's day!!! 
many kisses Kataki and Mitsaki!!! ;o)

xoxo

(Coming up for Valentine's day ---> clever and cheap ideas for gifts)


1 Φεβ 2011

"London my Love"


London...LONDON...LoNdOn...!!! 
there are so many words to say in many different ways if you are talking about London!! I prefer the expression... ---> "London my Love" 

The following song has nothing to do with London .. but...The accent darling.. pay attention at the accent of Sting!!! Lovely... ;o) 


I adore London from sky to ground...!!! even the areas the are not so attractive .. i am in love with them!!! 

London makes me feel happy ...
London is unique...
london is where i will moveeeeeeee!! sooner or later.... ;o)


Sorry for bubbling about London!!! 

have a good month ..or in greek..."Kalo mina"


love u !! 
kisses
 xoxo


31 Ιαν 2011

"Welcome a new blog"

http://epiplalazarou.blogspot.com/
We would like to welcome a new blog in the blogger world ! A traditional Carpenter blog is under construction! pay attention and stay tuned for more news in a few weeks time!!
Check out the link!
Thanks..!!!

kisses..xoxo


http://epiplalazarou.blogspot.com

29 Ιαν 2011

"How to have my notes and any kind of Cards organised"

How many times you found yourself trying to find a way in order to organise your sticky notes or any type of cards..(especially business cards) ?? WE usually misplace them or throw them away without even notice... :(
Because it happens to me every single day i came up with a clever idea!!

"PIN THEM ON YOUR FORKS"

If you have any spare forks in your house u can use them in order to "pin" on them your notes and your cards!! You only have to use something "sticky" and that's it.. u r ready !! 


Try it!!! I am waiting ur reviews.!! have fun! Stay tuned..!! xxx


* "HaPpY pLAcE ...."

Craft Room No1


Craft room No2
Although we would love to have a place like the those shown in the pictures above ;o)  ... at the moment we will be working in a less "fancy" environment... Hoping for the best...!!! 

"Something to begin with ... "

Ok!! I have to admit that after browsing different blogs, beginning of course with the blog my dear friend Athena created a long time ago ( http://lifeisonebigplayground.blogspot.com ) , I decided to create one as well!
The very first day i was not sure how to "name" it..but after a long discussion with my beloved Mitsaki we came up (....or to be honest...) he came up with the name "My Own".

"My Own" ..... "My Own"...."My Own".... "How are we gonna use the blog??" (I kept asking myself and Mitsaki ! ) But the answer was simple .... IN MANY DIFFERENT WAYS... ;o)

The main idea is to use it for posting *arts and crafts ideas* and help you with making anything you want! We have many fresh ideas which we want to share with the world! But besides that we might use it for fun and entertainment purposes.!!! Either way it will be an interactive blog!!! ;o)

So fingers crossed... a little pray... :p  and let's start blogging..!!!

Thank you everyone.. wherever you are.. !!
Many kisses

Katerina and Mitsaki. !!!